
INSTRUCTIONS FOR USE
HeelUPs™ Consumer Information
This information does not take the place of talking to your healthcare practitioner. Seek advice from your healthcare practitioner prior to using this product.
Do not use this product if you experience ankle instability (feeling of instability of your ankle(s), experienced at least one significant ankle sprain in the previous 12 months, or experience recurrent ankle sprains) or are at risk of falls.
For left shoe (3 layers – layers 1, 2 and 3)

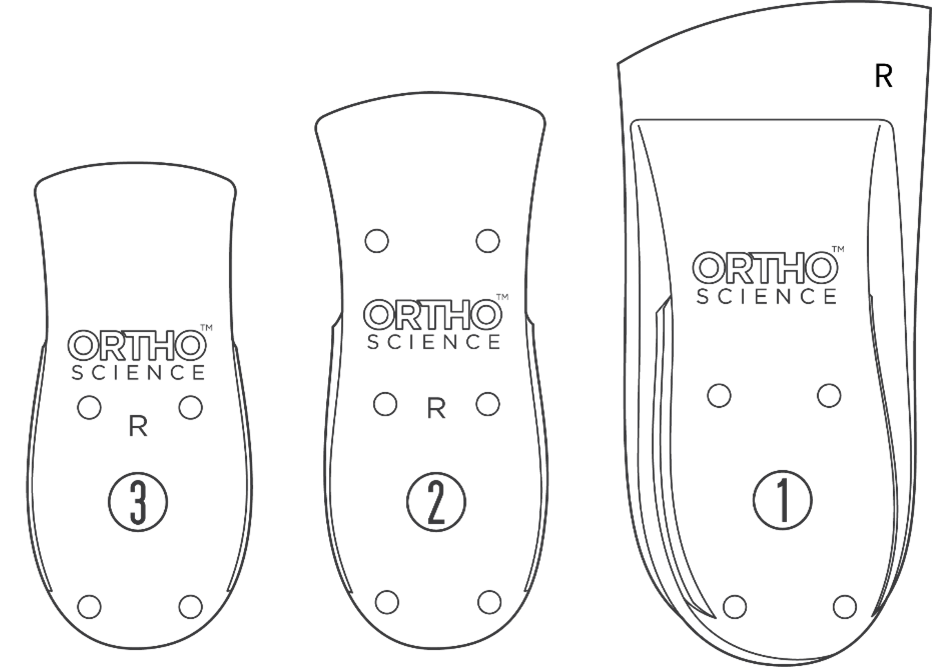
For right shoe (3 layers – layers 1, 2 & 3)
Wedge pieces


How to use HeelUPs™
Use this product as advised by your healthcare practitioner. Be sure to keep all your healthcare practitioner's appointments so that your progress can be checked.
HeelUPs™ need to be worn in good footwear (closed shoe style - with laces and a firm heel counter) that is not excessively worn. Where possible, remove the midsole from footwear prior to fitting the HeelUPs™ to maximise fit and minimise heel slippage.
It will take 3 to 7 days for you to get used to HeelUps™, but they should not cause any pain. Start by wearing your HeelUPs™ a few hours each day, gradually increasing your wear time. Do not use your HeelUPs™ for lengthy activities or sport until advised by your healthcare practitioner.
Notify your healthcare practitioner promptly if you experience any discomfort, pain or injury whilst using HeelUPs™.
Adjusting the height of the HeelUPs™
The height of the heel lift can be adjusted. Each layer is 5 mm in height at the heel. Using layer 1 only creates a 5 mm heel lift, combining layers 1 + 2 creates a 10 mm heel lift, and combining layers 1 + 2 + 3 creates a 15 mm heel lift.
Wedge pieces
The wedge pieces can be attached (as shown below) to the underside of the HeelUPs™ layers (layers 1, 2 or 3) to create a varus/supinated or valgus/pronated position of the heel.
